Effortlessly Split First and Last Names in Excel

Manipulating data in spreadsheets often requires simple yet specific formatting tricks, such as separating first and last names into separate columns. This can be particularly useful for sorting, data analysis, or customizing mailing lists. Excel, being a versatile tool, provides several methods to split names, and this guide will walk you through the most efficient approaches.
Understanding Excel's Text Functions
Before diving into the methods, let's review some fundamental Excel text functions you'll need:
- FIND() or SEARCH(): These functions locate the position of a character or text within a cell.
- LEFT(), RIGHT(), and MID(): Extract text from the left, right, or middle of a string.
- LEN(): Returns the length of text in a cell.
- TRIM(): Removes extra spaces from text.
🚀 Note: Always ensure your data is clean before applying these formulas. For example, use the TRIM function to eliminate any extra spaces.
Method 1: Using the Text to Columns Feature
Excel's "Text to Columns" feature is the simplest way to split names when there's a consistent separator like a space, comma, or hyphen:
- Select the Column: Highlight the column containing the full names.
- Initiate Text to Columns: Go to the Data tab and click Text to Columns.
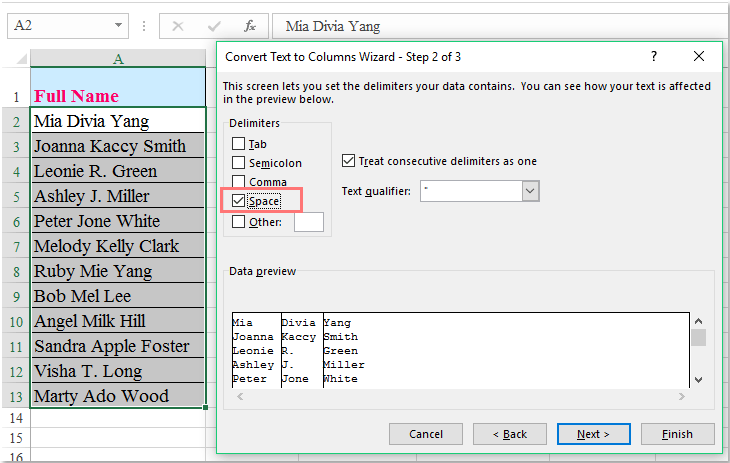
- Choose Delimiter: Pick Delimited and select the delimiter used in the names. If it's a space, check the space option.
- Finish the Process: Click Finish, and Excel will split the names into separate columns.
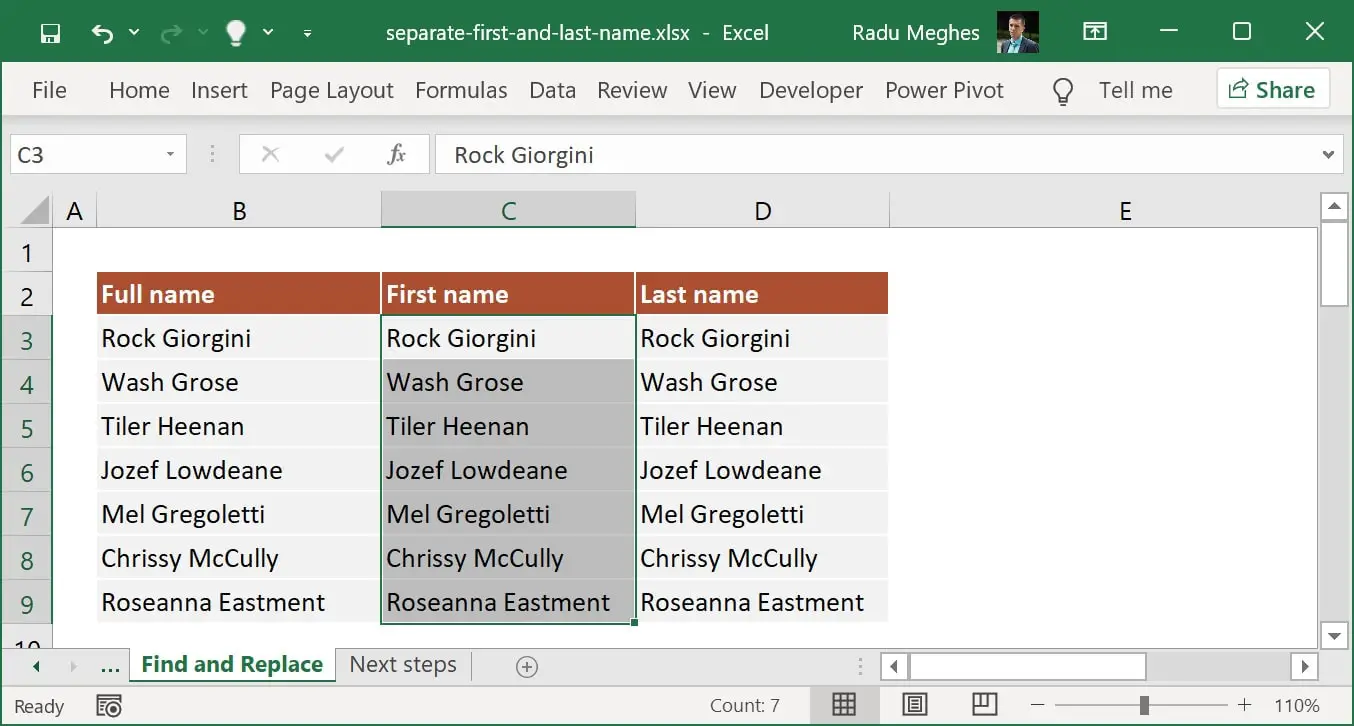
Here's a quick glance at how you might see your data before and after:
| Before | After |
|---|---|
| John Doe | John | Doe |
🚀 Note: If your data contains inconsistent separators (e.g., some names with middle initials), you might need to adjust this method or use an alternative approach.
Method 2: Using Excel Formulas
For more control and flexibility, you can use formulas to split names:
Splitting First Name
To extract the first name, you’ll use a combination of LEFT, FIND, and TRIM:
=TRIM(LEFT(A1, FIND(” “, A1) - 1))
Splitting Last Name
Here, you’ll make use of RIGHT, LEN, and FIND:
=TRIM(RIGHT(A1, LEN(A1) - FIND(” “, A1)))
These formulas work assuming that the first space in the name separates the first from the rest, which usually suffices for most naming conventions:
- A1 contains the full name.
- TRIM() removes leading or trailing spaces.
- LEFT() and FIND() extract the first name.
- RIGHT() and LEN() with FIND() extract the last name.
🚀 Note: If you have names with middle names or initials, you might need more complex formulas or additional steps.
Handling Complex Names
When names include middle names or initials, the formula approach might become cumbersome. Here are some additional considerations:
- Middle Names/Initials: Use additional formulas to extract middle names or modify existing formulas to differentiate between first, middle, and last names.
- Nested Formulas: Combine FIND() with MID() to extract multiple parts of a name.
- Dynamic Range: If names vary widely in structure, consider using arrays or custom VBA functions for more robust splitting.
As an example, if you want to extract a middle initial:
=MID(A1, FIND(" ", A1) + 1, FIND(" ", A1, FIND(" ", A1) + 1) - FIND(" ", A1) - 1)
🚀 Note: For very complex or variable name formats, a custom function might be the most reliable approach to ensure accuracy across all entries.
Best Practices for Splitting Names
When working with name splitting in Excel, here are some best practices to keep in mind:
- Consistent Data Entry: Before splitting, ensure data consistency in how names are entered.
- Use Helper Columns: Use intermediate columns to hold extraction steps before the final split for better traceability.
- Test Your Formulas: Start with a few test cases to ensure your formulas work across different name formats.
- Automate When Possible: If you're handling a large dataset or this task will be frequent, consider automating with VBA or Power Query.
- Double Check Output: Always review the output to catch any anomalies or edge cases.
Throughout the process, remember that data integrity is crucial, especially when dealing with names, which can have personal and cultural significance.
After working through these steps, you should have a set of names effectively split into separate columns, ready for further manipulation, analysis, or organization. Whether you use the Text to Columns feature for simple tasks or formulas for more complex ones, Excel provides the flexibility to handle almost any name-splitting scenario you'll encounter. With consistent data entry and thorough testing, these methods can save you significant time and improve the quality of your data management efforts.
What if my names have titles (e.g., Mr., Dr.)?
+You can adapt formulas to strip titles or use Excel’s Text to Columns feature with a space delimiter and manually adjust or write formulas to account for titles.
How do I handle names with suffixes like “Jr.” or “III”?
+Use additional formulas to detect suffixes and extract them into their own column. This might involve looking for common suffix patterns or spaces within a name string.
Can these methods handle names from different cultures?
+Basic methods work for common naming conventions, but complex name structures might require custom formulas or cultural-specific adaptations.
Related Terms:
- first name middle last excel
- last name comma first excel
- first name last excel formula
