5 Simple Steps to Split First and Last Names in Excel
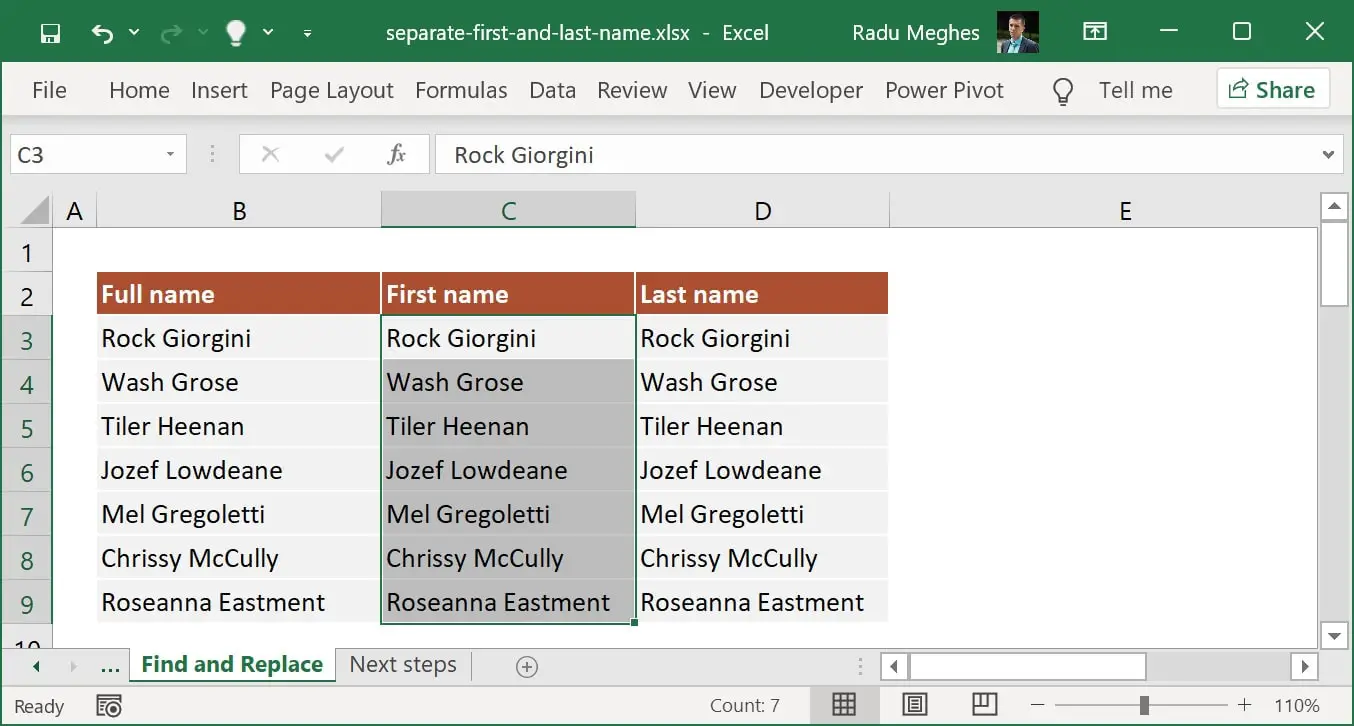
Have you ever found yourself with a list of names in Microsoft Excel where you need to separate first and last names? This is a common task for data analysts, HR personnel, event organizers, or anyone dealing with large data sets. Splitting full names into first and last names in Excel can streamline your data management, making it easier to sort, analyze, and personalize communications. Here's how to do it with just five simple steps:
Step 1: Prepare Your Data
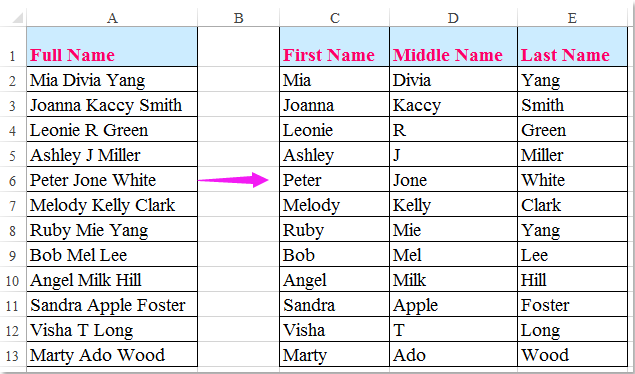
The first step in splitting names is to ensure your data is formatted correctly:
- Check that the entire list of names is in one column.
- Ensure that there are no extra spaces or unnecessary characters between the names.
- Make sure that names follow a consistent format like “FirstName LastName” or “LastName, FirstName.”
Step 2: Using the Text to Columns Feature
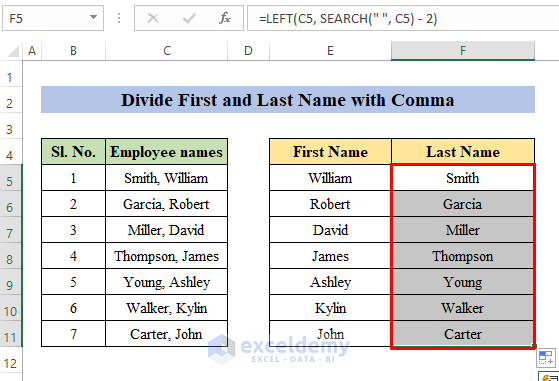
Excel’s Text to Columns feature is a handy tool for this task:
- Select the column containing the full names.
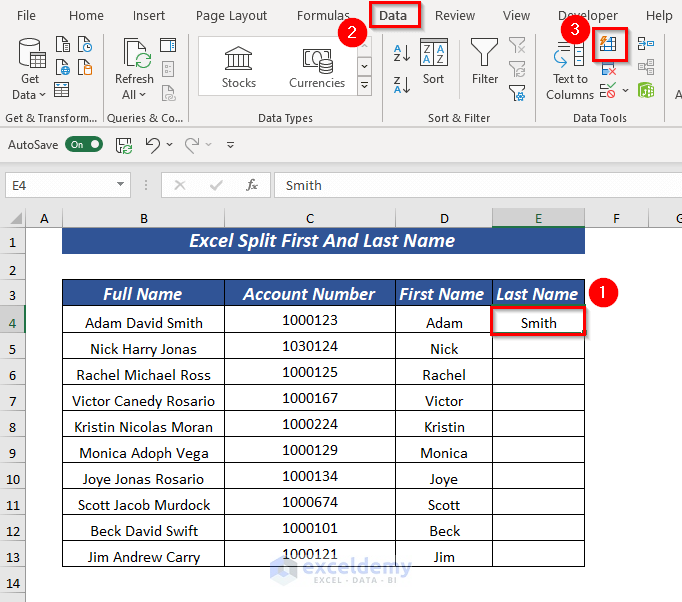
- Go to the Data tab in the Excel ribbon and click on “Text to Columns”.
- Choose Delimited or Fixed width based on your data format. Generally, names with spaces in between will be Delimited.
- If you chose Delimited, select Space as the delimiter. You can also choose Comma or other options if names are formatted differently.
- Click “Finish” after setting up your delimiters, and Excel will split the names into separate columns.
Step 3: Rearranging Columns (If Necessary)
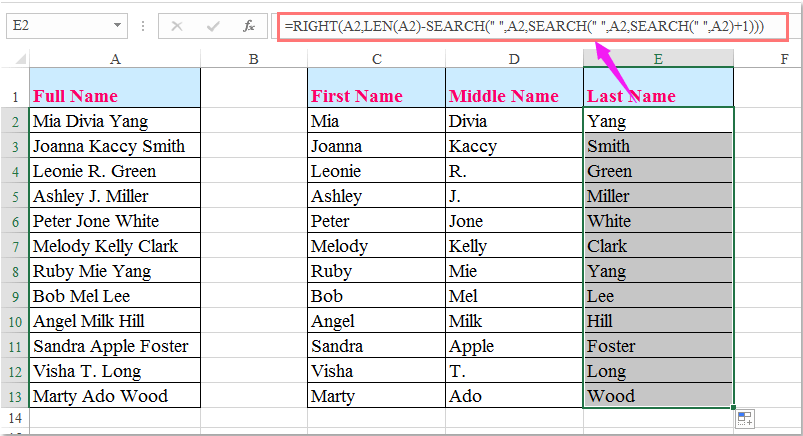
After splitting, your data might look out of order:
- If Excel has placed last names in the first column, you can select the column with last names, cut it, then move to where the first names are, right-click, and choose “Insert Cut Cells” to place it back in order.
- Similarly, rearrange any middle names or initials as required.
💡 Note: Middle names might cause issues if they are present. In this case, you might need to manually adjust or use a different approach.
Step 4: Advanced Formula Approach
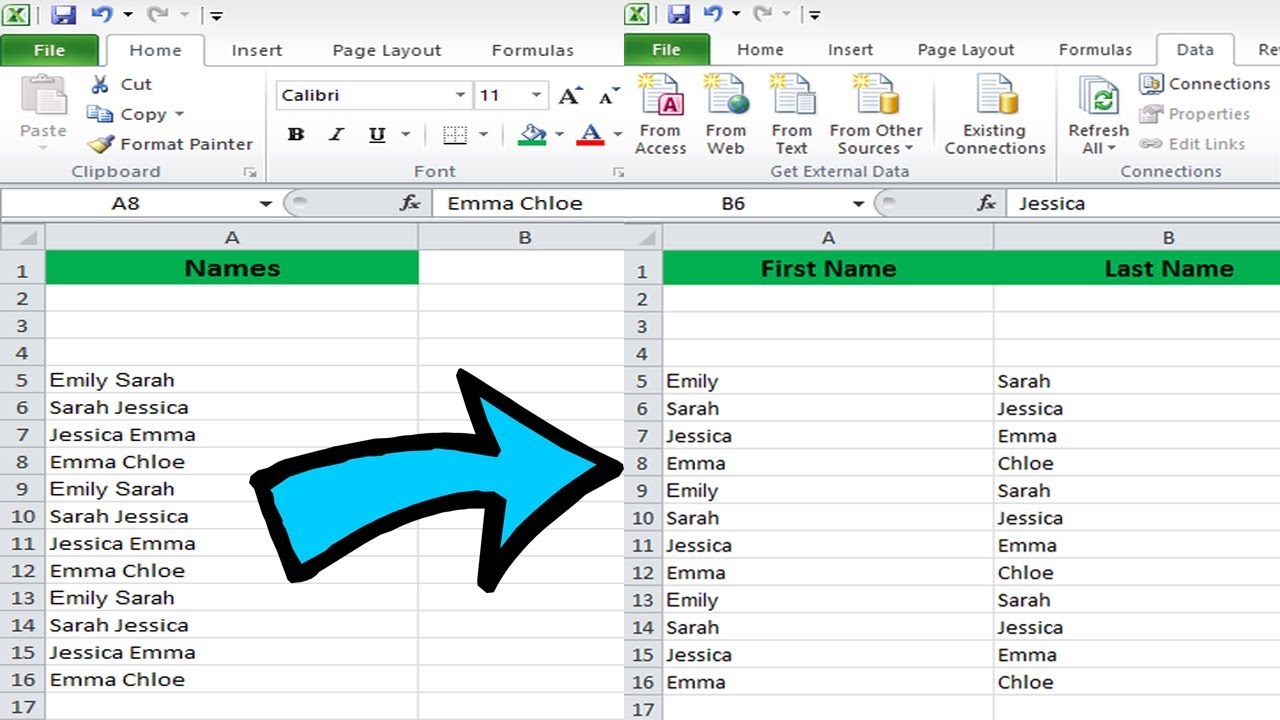
If your data has inconsistencies or you need more control over the split:
- In an adjacent column, use the formula
=LEFT(A2,FIND(” “,A2)-1)to extract the first name. Here, A2 is the cell with the full name. - In the next column, use
=RIGHT(A2,LEN(A2)-FIND(” “,A2))to get the last name. - Copy these formulas down the columns.
Step 5: Final Adjustments and Data Validation

After splitting the names:
- Check for any discrepancies or manual adjustments needed.
- Remove any formulas if you want to keep the data as values.
- Optionally, you can rename the headers for clarity or merge back middle names.
💡 Note: Be careful with names that might not follow standard formats, like compound surnames or titles like “Dr.” or “Mrs.”
By following these five steps, you can effectively split first and last names in Excel, saving time and ensuring your data is well-organized. This process enhances the way you manage and utilize personal data, making it easier for further analysis or personalization.
What if there are middle names?

+
Excel’s simple Text to Columns method might not work well with middle names. You can either manually adjust or use formulas to account for middle names. For example, you can extract the first name and the rest, then refine the split on the second column.
Can I use these steps for names in different languages?

+
Yes, as long as the names follow a pattern of spacing or delimiters that Excel can recognize, these steps can apply to names from various cultures. Be aware of different naming conventions, like double-barreled surnames or patronymics.
How can I handle titles like “Dr.” or “Mrs.”?
+
Titles can complicate the splitting process. You might need to manually remove or adjust these or use a custom formula that accounts for prefixes before splitting.
