3 Simple Ways to Remove Year from Date in Excel

Microsoft Excel is a powerful tool for handling data, from simple calculations to complex data analysis. Often, users find themselves needing to manipulate dates for various reasons, like formatting for reports, charts, or further data processing. One common task is to remove the year from a date. This post explores three straightforward methods to achieve this in Excel, ensuring your data management tasks are done efficiently.
Method 1: Using the TEXT Function
Excel's TEXT function is an excellent way to format dates to show only the month and day. Here's how you can do it:
- Select the cell where you want to display the date without the year.
- Type in the following formula:
- Replace
A1with the cell reference containing the original date. - Press Enter.
=TEXT(A1, "mm/dd")
📌 Note: The "mm/dd" format will display the date with leading zeros for single-digit months or days.
You can adjust the format to "m/d" or "dd/mm" if you need a different presentation.
Method 2: Using Cell Formatting
This method involves changing how the date is displayed without altering the underlying value:
- Select the cell with the date or range of cells you want to format.
- Right-click to access the context menu, then select 'Format Cells'.
- In the 'Number' tab, choose 'Custom' under 'Category'.
- Type
dd/mmorm/dinto the 'Type' field. Use forward slashes for US date format or periods/dashes for European or other regional formats. - Click 'OK'.
Your date will now show without the year, but the actual value remains intact for any subsequent calculations or data processing.
Method 3: Using a Formula

For a more dynamic approach, you can use Excel's built-in functions to split the date into parts:
- Assuming the date is in cell A1, enter the following formula:
- The DAY function extracts the day, the MONTH function extracts the month, and the "&" operator concatenates these values into a single cell.
=DAY(A1) & "/" & MONTH(A1)
This method allows you to retain the original date in one cell while displaying the day and month in another, making your data analysis more flexible.
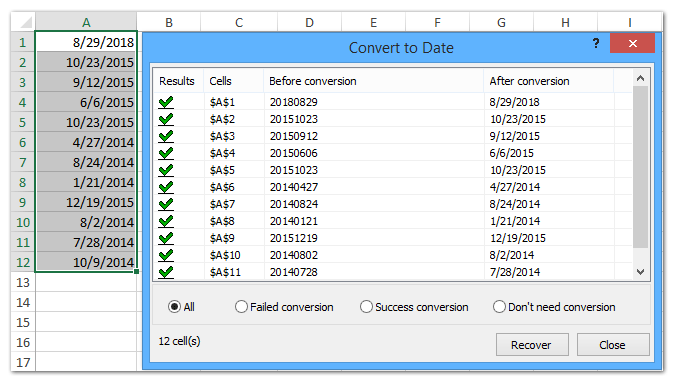
⚠️ Note: If you're dealing with dates formatted as text, make sure to convert them to proper date values first with the DATEVALUE function before applying these methods.
Each method has its advantages. The TEXT function and custom formatting are quick for one-off tasks or small datasets, while using formulas can be more powerful for large datasets or when you need the original date for other uses.
Can I undo these changes if I need the year back?
+
Yes, if you've used custom formatting or the TEXT function, you can always revert to the original date by deleting the formula or changing the cell format back to 'General' or 'Date'.
Will removing the year affect my calculations?

+
No, Excel stores dates as serial numbers, so calculations involving dates are still accurate. Only the display changes.
Can I apply these methods to an entire column?
+
Absolutely, just drag the formula or apply formatting to the entire column as needed.
What if my dates are not recognized as dates by Excel?
+
If Excel treats your dates as text, use the DATEVALUE function to convert them first, then apply the above methods.
In essence, manipulating dates in Excel to remove the year offers various benefits in terms of data presentation and analysis. Whether you choose to use the TEXT function, custom formatting, or a combination of date functions, the key is to understand how each method fits into your workflow. With these techniques, you’ll have more control over how your data looks and functions, making your reporting and analysis tasks smoother and more effective.
